
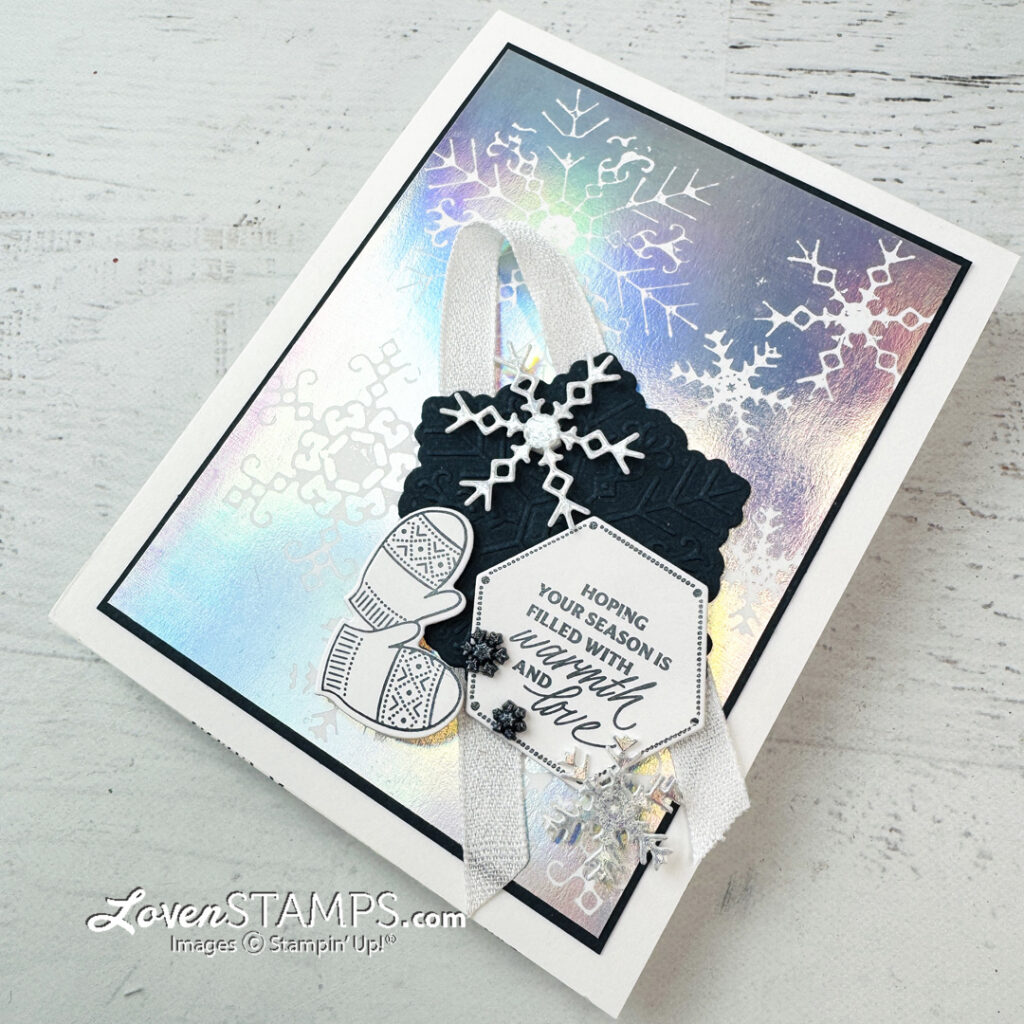
Maybe you’ve been waiting to see this episode – I’ve been talking for weeks about the background technique we’re making with our NOT HOT Foil Technique. The Dreamy Snowflakes bundle includes gorgeous die cut snowflakes alongside detailed stamp images and greetings, plus the added benefit of a hybrid embossing folder. But adding in the Reverse Foil Die allows you to turn the Silver Opal Foil trash into treasure.
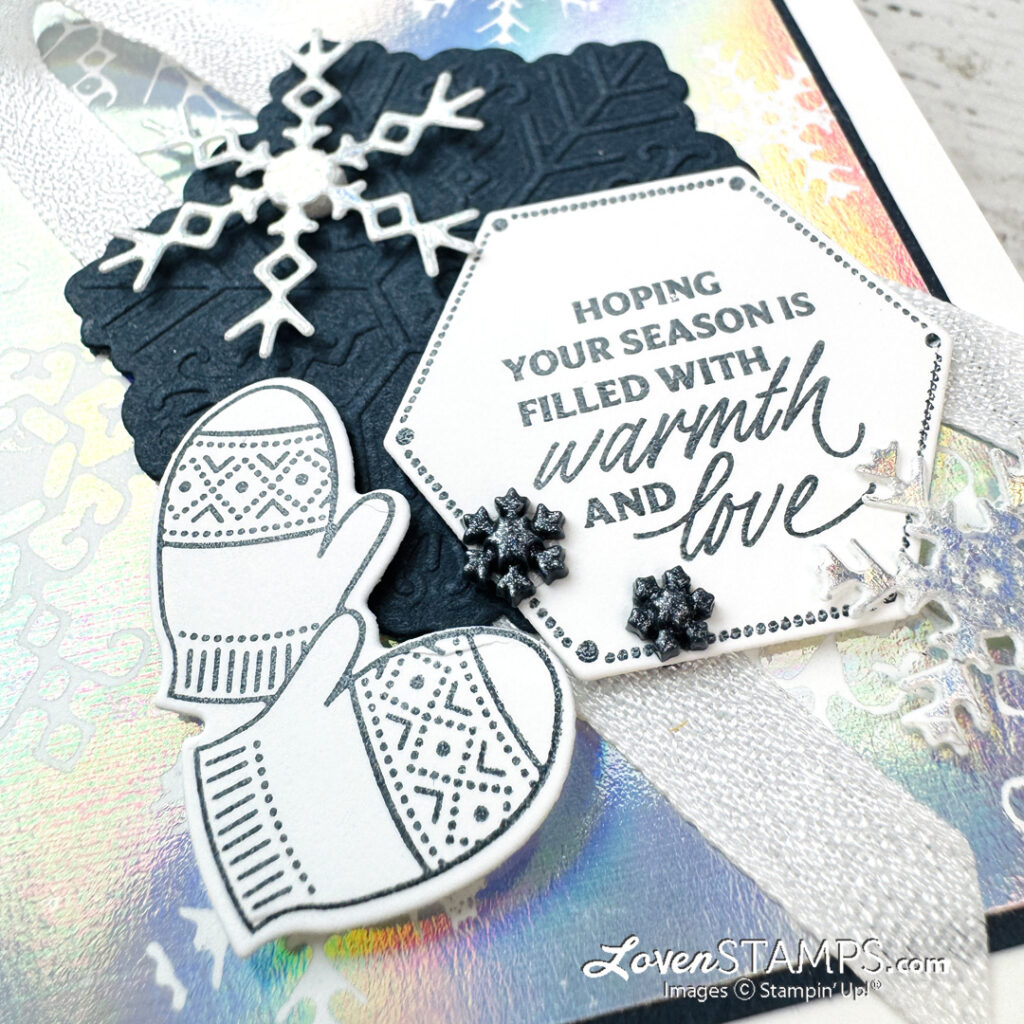
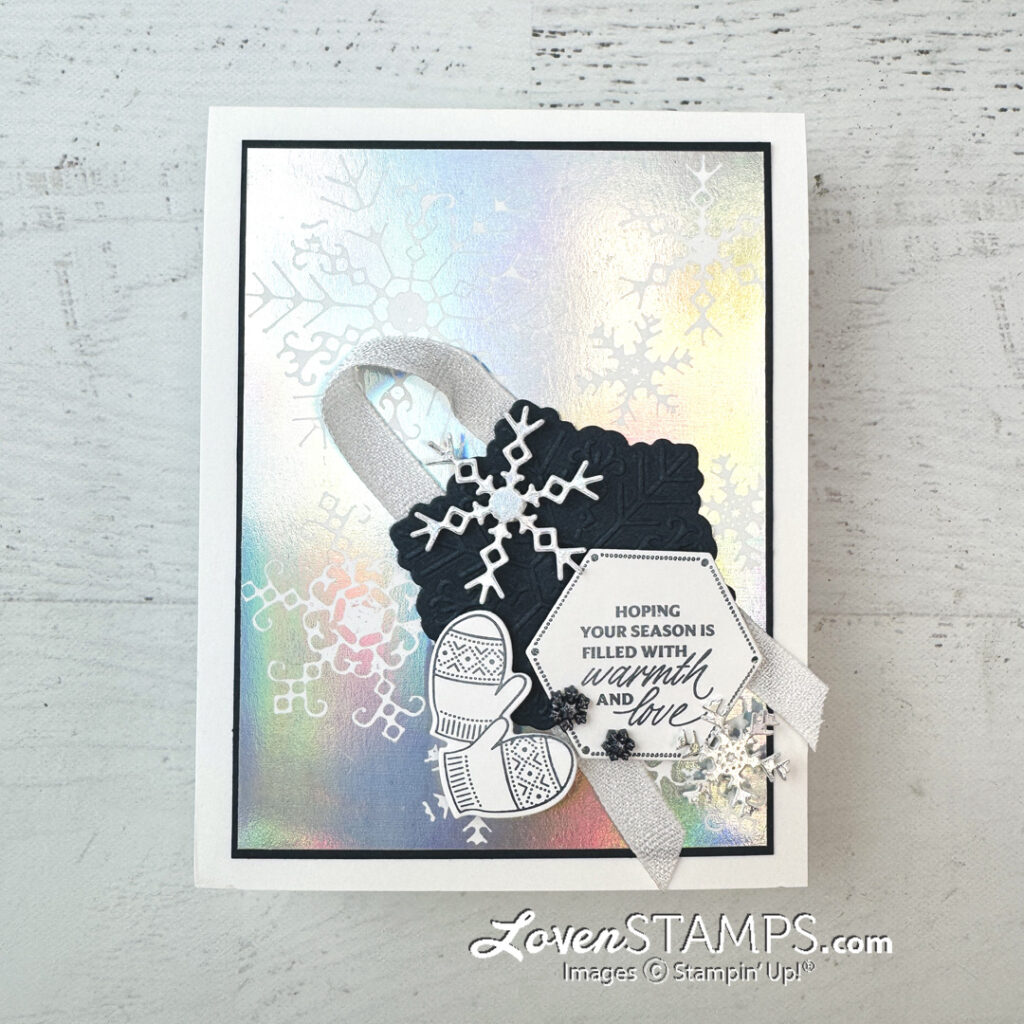
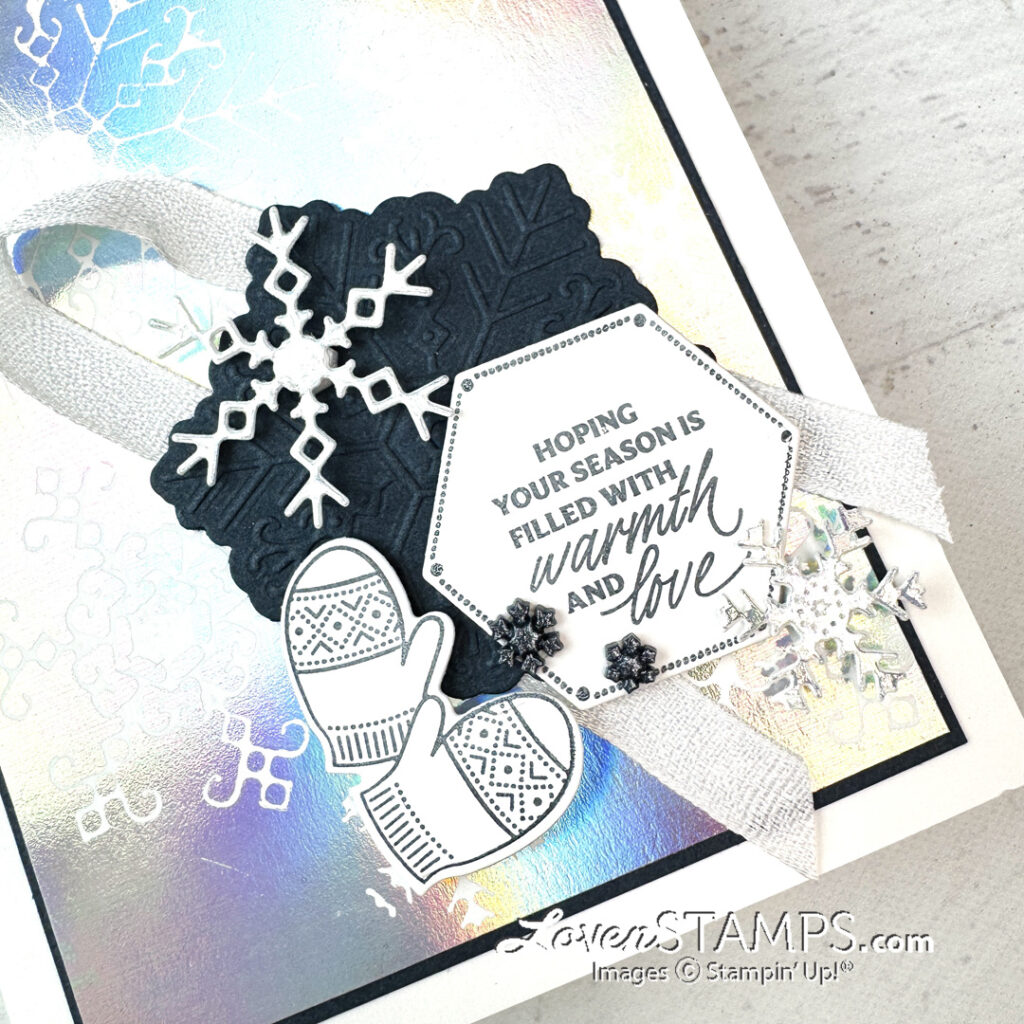
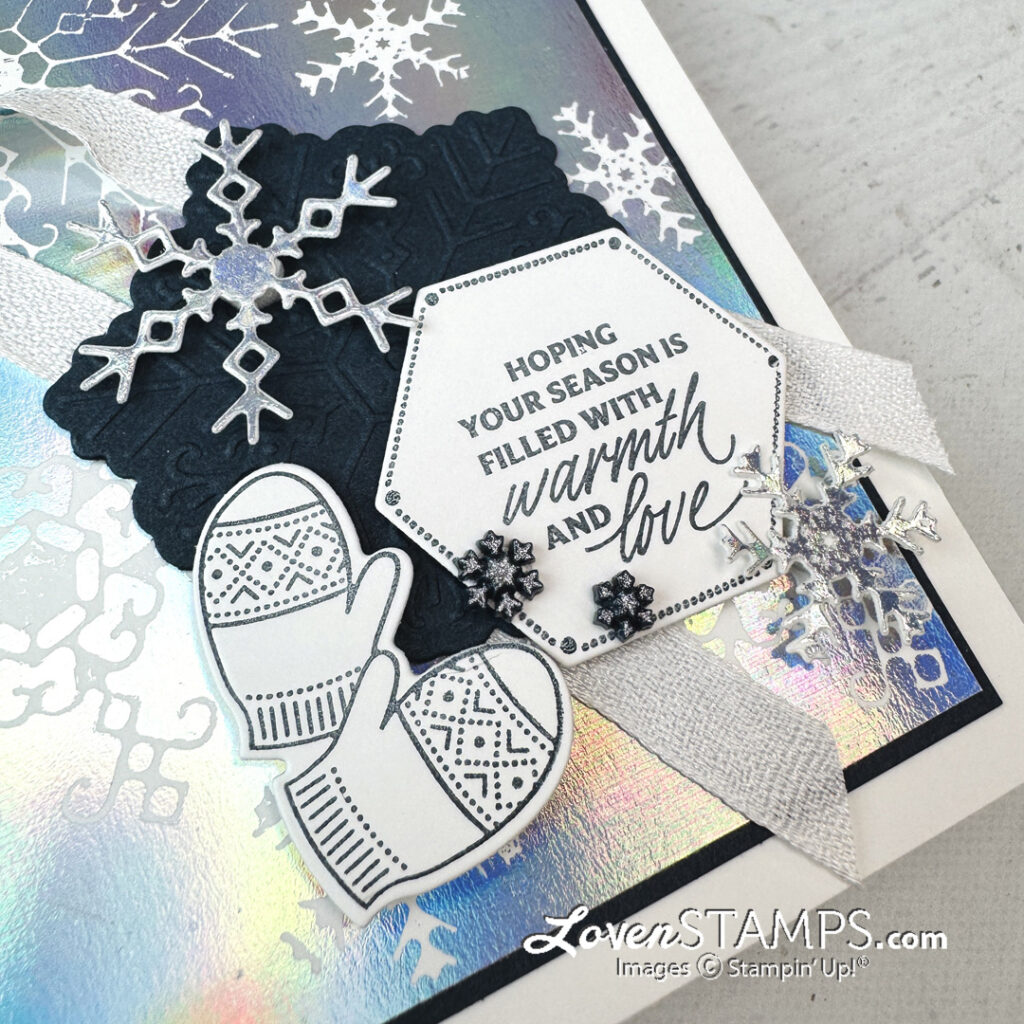
The focal point of today’s card is created with the hybrid embossed die cut Dreamy Snowflake in the deep blue Secret Sea cardstock. With that element as a base, the Dreamy Snowflake mittens and hexagon greeting add pretty layers.
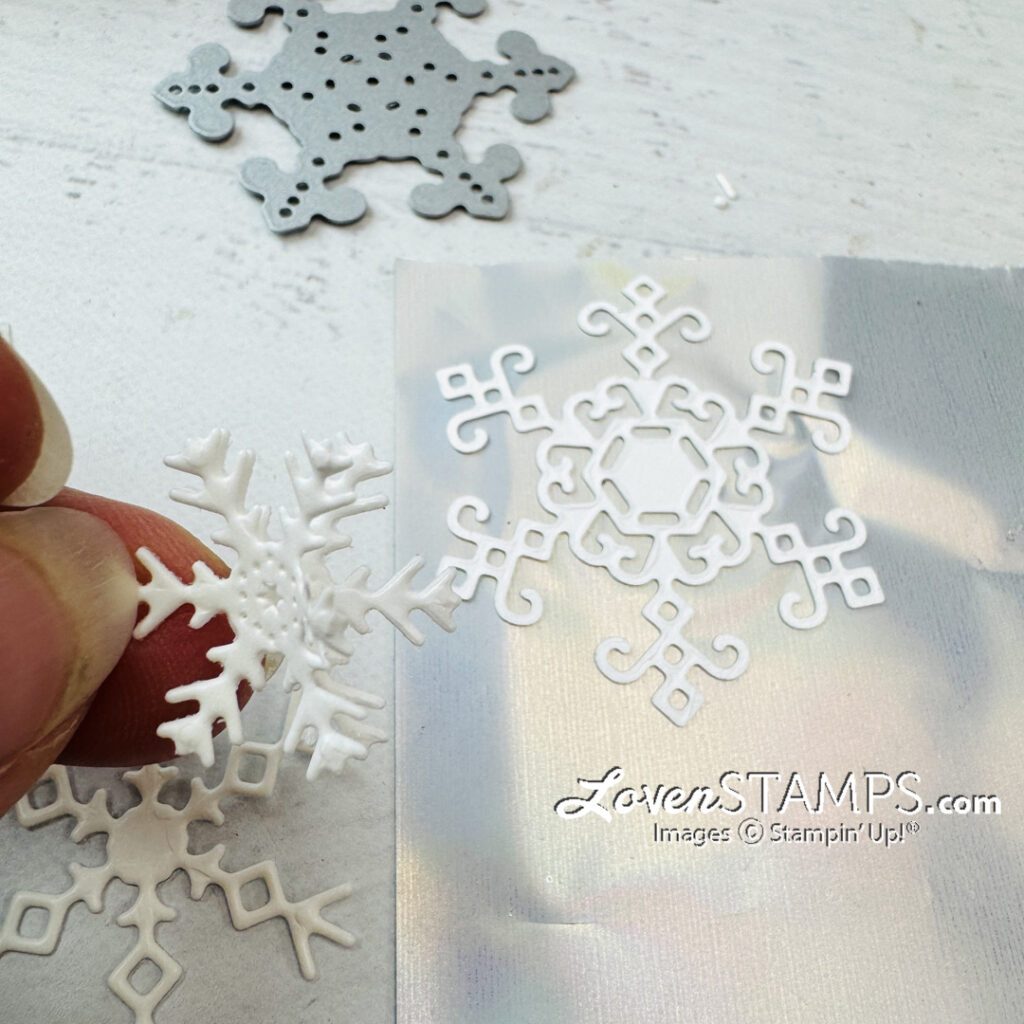
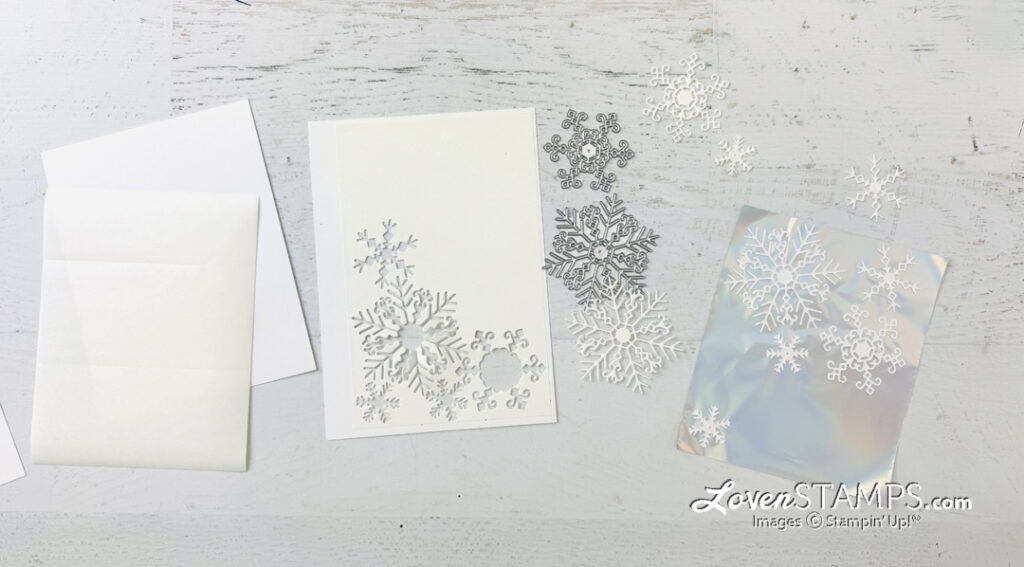
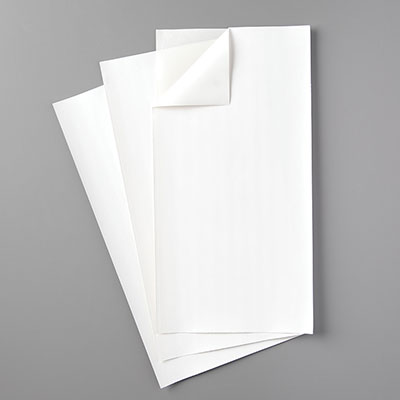
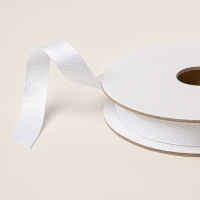
To create the detailed die cut snowflakes and make them shiny, use the NOT HOT Foil Technique with Adhesive Sheets. Layer Adhesive Sheet over Basic White cardstock, then die cut the detailed snowflakes with the adhesive side up. Press the adhesive side of the snowflake die cuts onto a large piece of Silver Opal Hot Foil (on the matte side). When all the foil is covered with a desirable pattern, remove each snowflake die cut and dust with the Embossing Buddy to block any stray adhesive spots. The detailed opal die cut snowflakes are used for embellishments.
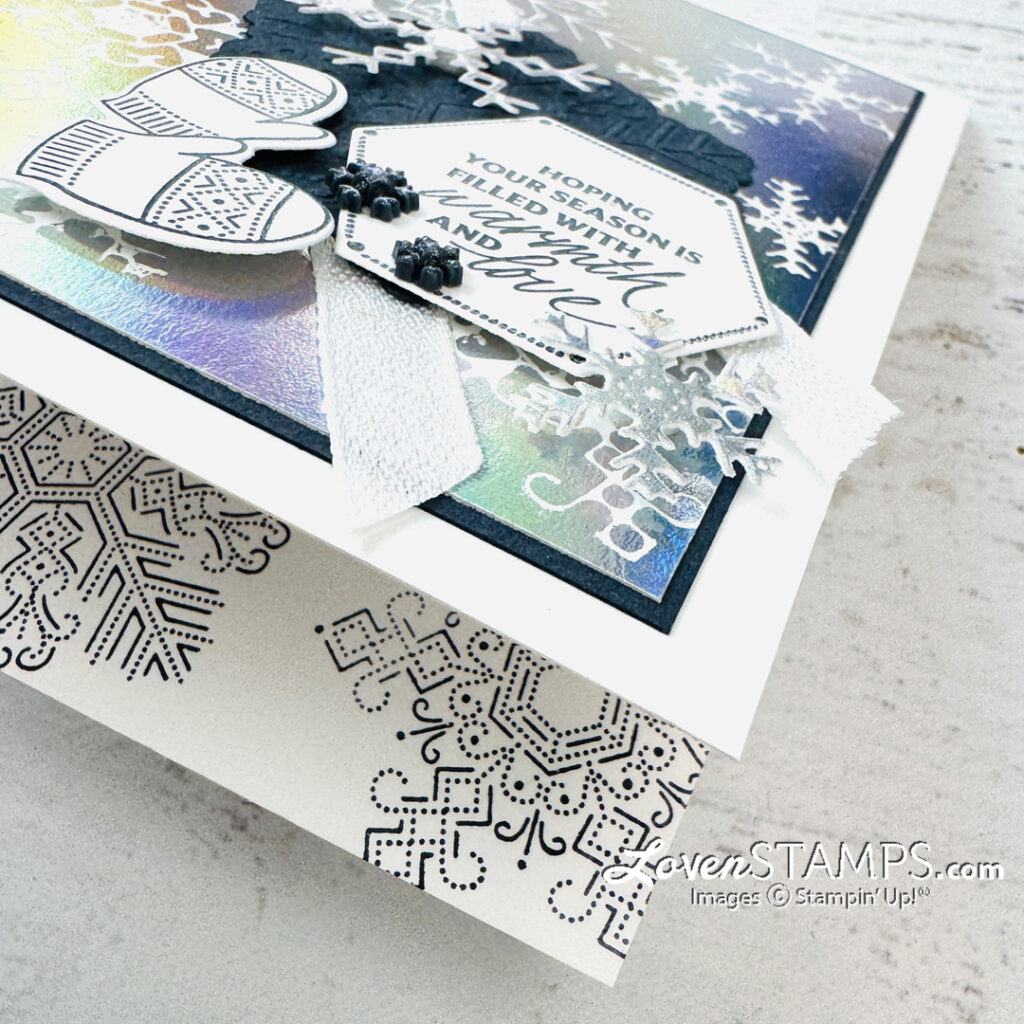
Finally, heat the ‘trash’ piece of Silver Opal Hot Foil with the Reverse Foil Die and layer on Basic White cardstock to create the gorgeous opalescent background for this card. Layer with Secret Sea cardstock for a contrast that brings out both the white and the silvery color.
Directions for NOT HOT Foil & Reverse Snowflakes
- Press Adhesive Sheet onto Basic White cardstock and die cut snowflakes with the adhesive backing side up
- Peel adhesive backing from the die cut snowflakes and press onto the wrong side of Stampin Up Hot Foil Rolls (shown here in Silver Opal)
- Peel shiny snowflakes from the foil backing paper
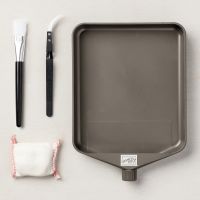
- Dust snowflakes with Embossing Buddy (from Embossing Additions Tool Kit) to remove any excess stickiness
- DON’T THROW AWAY the foil backing paper! Use the Reverse Foil Die to heat the foil backing paper and apply to Basic White cardstock for a gorgeous Silver Opal foil snowflake background.
Today’s card features both HOT and NOT HOT foil techniques, as we await the return to stock of the New Stampin’ Hot Foil System (due back the week of Nov 23). Are you loving my NOT HOT Foil techniques? There are so many! I’ve shared a few this month, alongside the regular ‘as designed’ hot foil projects. You’ll want to check all of them out on my blog.
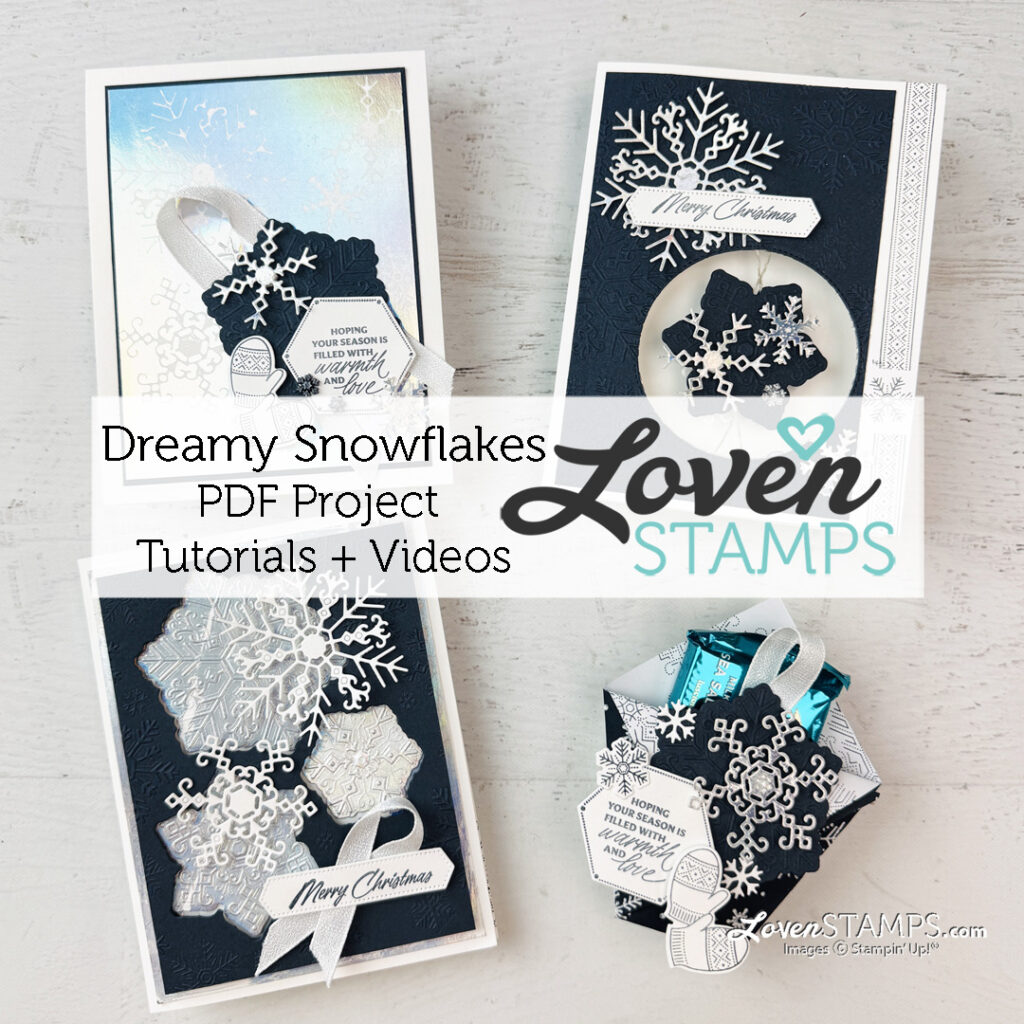
Today is one of my LovenStamps Monthly Tutorials for November – and the printable PDF for all 4 projects is available as my free gift to you for placing an order in my online store during November. You already have the video tutorial – but the printable directions and photos are so handy to keep track of all the projects you’re planning to make. Each month I create a new set of 4 tutorials. And if you miss any, they’re always available after the month through my LovenStamps Card Mart Etsy shop.
Hot & NOT Hot Dreamy Snowflake Foil Background – Stampin’ Up! Tutorial
View below or use the link to view directly on my LovenStamps YouTube channel. Don’t forget to subscribe while you’re there
Add items to your cart and be sure you’re shopping with me – Meg Loven to earn Stampin’ Rewards AND LovenStamps Perks Points and Tutorials.
Dreamy Snowflakes Bundle – Stampin’ Up! Supplies you’ll want for stamping at home:
Use Meg’s one-click link for Stamping Supplies for the full supply list or use the links below:
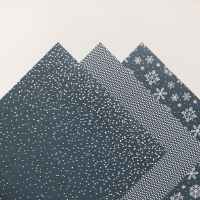
Product List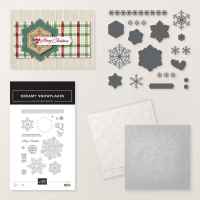
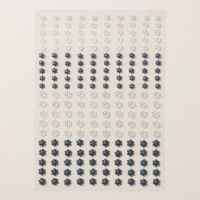




Don’t forget that your order can qualify you for LovenStamps Perks Points and LovenStamps Card Kits “To Go” when you shop with me!
LovenStamps Monthly Tutorials: Each month I carefully select a group of coordinating supplies – stamps, ink, papers and embellishments – and design 4 fabulous projects using only those products. You’ll love crafting these 4 projects at home! You can follow along with the LovenStamps Project Tutorial videos, or you can follow the directions in my printable PDF tutorials – available free this month with any order you place in my online Stampin Up store. November LovenStamps Monthly Tutorials will feature the Dreamy Snowflakes Bundle, including stamps, dies and hybrid embossing folder, along with NOT HOT Foil Techniques and the Winter Dream Specialty Designer Series Paper!
Ordering $60+ (after rewards, before shipping/tax) with me? You get two perks beyond the Monthly Tutorials PDF! First, you’ll get two ready-to-stamp project kits in the mail from me – pre-cut cardstock, dsp and embellishments featuring two of the LovenStamps Monthly Tutorial projects. Second, you’ll get free access (a $15 value) to the Creative Stamping Collective Video Class! In November the 12 project video class features the Home for Christmas stamp and die bundle from the Stampin’ Up! September – December 2026 Catalog.
Looking for easy-print downloadable PDF tutorials for building your card idea library? Tutorials from the LovenStamps Archive are available for purchase in the LovenStampsCardMart on Etsy.
Happy Stamping!

To Order Stampin’ Up! Products On-Line 24/7, CLICK HERE!

NEW Stamps & MORE!!
- Check out all the holiday favorites: stamps, papers and more, including NEW in November Suites!
- Want a little? Place an order!
- Want a lot? Order $20 or more and receive 10% in Stampin’ Rewards directly in your online shopping account! Use these Stampin Rewards on your next order.
- When you order and select me as your demonstrator: Earn 1 LovenStamps Perks Point for every $30 you order online, or $60+ orders earn LovenStamps Card Kits “To Go”!
- Want it ALL? Join my LovenStampfuls demonstrator family – and get a terrific discount on your Starter Kit, plus the orders you place as a demonstrator! Learn More
WDIBT Maker’s Club – Sign Up is OPEN!
Curious? Ready to sign up? Learn more about the “Why Did I Buy This?” Maker’s Club!
This premium monthly club includes a curated product box sent to your home each month, along with a VIP Zoom session packed with ideas on how to use the amazing things in your Maker Club Box. Stamp a lot? Stamp a little? Stamp for yourself or creating projects for events?? We welcome you to join our “Why Did I Buy This?” Maker Club! Think of it as monthly inspiration and time set aside for YOU.